Whether you’re just starting out or been a Branch power user for years, there’s a little something for everyone in this month’s updates. February updates are headlined by two exciting new features – revenue tracking and a substantial upgrade to our new user onboarding flow.
Revenue Reporting (beta)
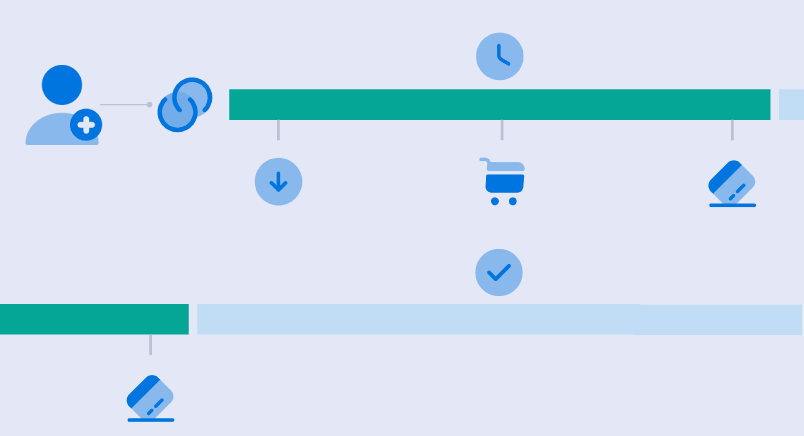
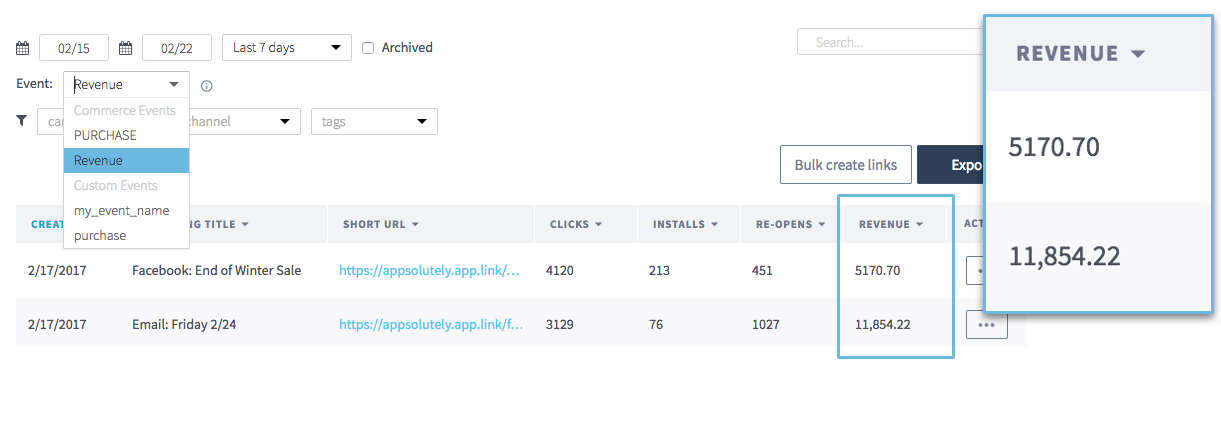
You can now easily track purchases and revenue in the Branch dashboard. With Branch links in every channel, it’s easy to compare the quality of traffic coming in from your marketing campaigns. The Source Analytics and Quick Links pages allow you to determine which campaigns, channels, features, and links are resulting in the most revenue. In the coming weeks, expect to use revenue data in more places, such as Journeys targeting. To learn more about how revenue reporting can help your app, read our launch blog post.
WHERE: Select a custom event called “Revenue” in the Source Analytics or Marketing tabs in your dashboard. This will add a column to the table that shows you revenue from purchase events.
HOW: Check out our revenue reporting documentation to set up events.
Set up Branch in a Few Clicks
If you’re new to Branch or never quite finished integrating, try out our brand new setup flow. New instructions, copy-and-paste code snippets, and additional testing steps give you immediate feedback as you get started. You’ll be able to set up branded links, all your default link behavior, native SDKs, and Universal Links in a few clicks.
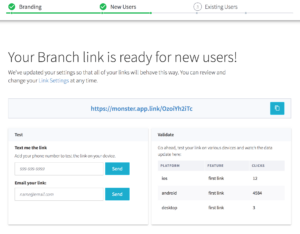
WHERE: Head to https://dashboard.branch.io/start to get started.
Epsilon Harmony Email Support
We’re pleased to welcome the Epsilon Harmony email platform as the newest provider to support Branch as their preferred deep linking provider. If you’re an Epsilon Harmony customer, reach out to your Branch or Epsilon account manager to learn how to leverage Branch deep linking in all your emails.
HOW: Reach out to your Branch Account Manager for more information on getting set up with Epsilon.
Enhanced Journey Controls
The latest Journeys improvements allow marketers the ability to a Journey appear when it makes sense in your user experience. Publishers use these new controls to make a Journey appear after a customer has scrolled past introductory content, or has triggered a specific action, like clicking “Read more.”
WHERE: You can customize Journeys behavior by making changes to your website code.
HOW: Our documentation describes how to block a Journey from showing, and how to call a Journey to appear when you want it.
Dynamically Customize Journeys
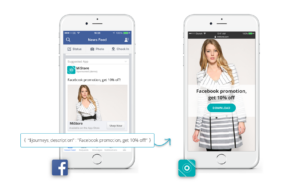
You can already set up Journeys to show to specific audience segments with targeted messaging, but now you can get even more specific with your text. We’ve built a new feature to let you specify Journeys texts in the Branch link itself.
For example: let’s say you have an existing Journey with a generic description (e.g. “The best shopping app in the world!”) on your site. However, you want to promote a specific deal with a Branch link on Facebook and have the Journey recognize that deal. More specifically, you want customers who click that Branch link on Facebook to go to your website and see “Facebook promotion, 10% off!” in the Journeys description instead of the generic description. To do this, set the $journeys_description in your link to “Facebook promotion, 10% off!”, and you’re good to go; all customers who visit your site from that link will see that text in the description of your Journeys.
WHERE: Wherever you create a Branch link, add your dynamic values according to the instructions below.
HOW: In your Branch links, set a key that represents a text field (such as $journeys_title) and then a value (such as “10% off!”). When a customer visits your site, the title you specified in the link will then override the default Journeys title. A full list of customizable fields is available in our documentation.
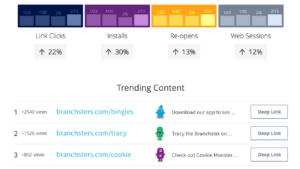
See Your Top Trending Content
In your Branch Weekly Performance Summary, you can now see your trending content based on engagement with links on your website and to your app. Start generating this data by adding a Journeys banner to your site. Not receiving these emails? Contact us.
WHERE: Set up and design your first Journey at https://dashboard.branch.io/journeys
HOW: To set up a Journeys banner, follow the detailed instructions in our documentation. To improve your content, get the latest version of the web SDK, and ensure that you have a canonical URL tag and Open Graph tags on your website.